
Aircraft Model Painting Techniques to Bring Your Models to Life
Partager
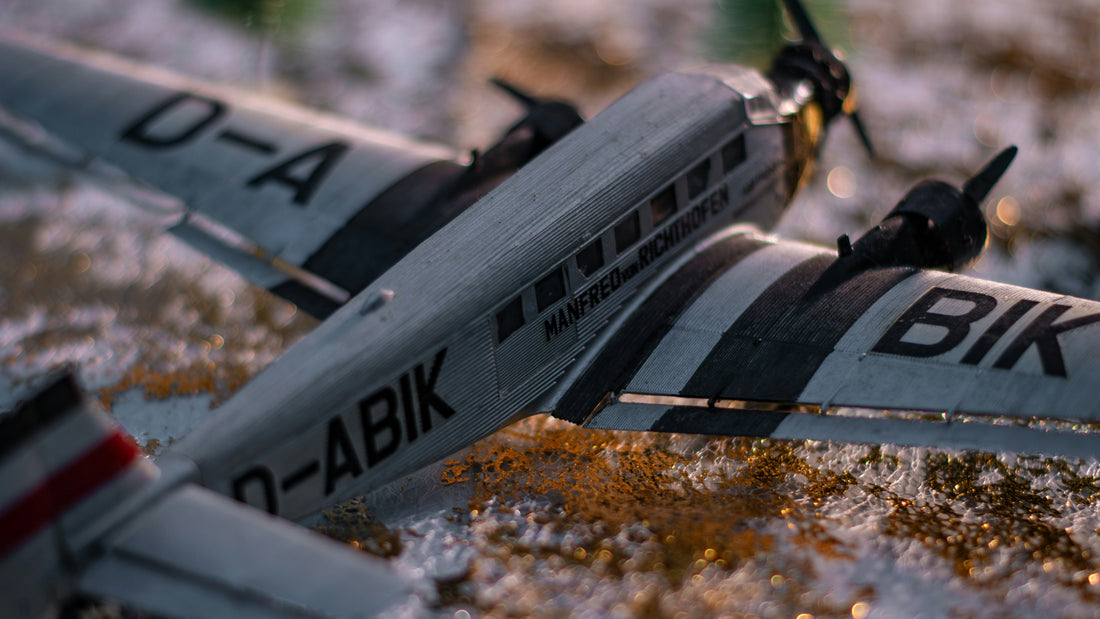
Assembling an airplane model is already very satisfying in itself. But what truly transforms a plastic assembly into a realistic miniature is the paint. It's the paint that creates the illusion of metal, wear, and flight hours. In short, it's what brings your model to life.
You don't need to be an artist or an expert to paint a model well. With the right techniques, a little patience, and some basic skills, you can quickly achieve stunning results. Whether you work with a brush or an airbrush, this article explains everything you need to take your models to the next level.
Properly preparing your model before painting
Before even taking out the first drop of paint, you need to prepare your model. This step is often overlooked, but it is essential for achieving a smooth, clean, and adhesive surface.
Start by cleaning all parts with lukewarm soapy water, especially if they are fresh out of the box. This removes molding residues (grease, dust...). Once dry, a light sanding with fine sandpaper (800 to 1000 grit) smooths the surfaces and eliminates small imperfections.
Then, remember to apply a primer. This is an undercoat that allows the paint to adhere more easily. It unifies the surface, reveals defects to be corrected, and makes the colors pop later.
Finally, protect areas not to be painted with special modeling masking tape. It's thin, doesn't tear off details, and allows for cleaner painting.
Brush painting: the basics
The brush is often the starting point for beginner modelers. It requires a bit of practice, but it remains accessible, economical, and very versatile.
Ideally, you should have several brushes of different sizes: a fine one for details (cockpit, edges), a medium one for intermediate surfaces, and a wider one for large areas. Always favor thin, cross-hatched coats rather than too thick an application. This avoids streaks and blobs.
Between each coat, let it dry thoroughly (at least 30 minutes for acrylics) and clean your brushes immediately. With patience, you will achieve clean and sharp results, even without sophisticated equipment.
Using an airbrush for a more realistic finish
The airbrush is the preferred tool for slightly more advanced modelers. It allows for ultra-homogeneous paint application, subtle gradients, and finely painted complex camouflage patterns.
To start, you don't need to spend a fortune: some entry-level kits are perfect for learning. You will also need an adjustable compressor, and of course, a well-ventilated area.
The key is paint dilution. Too thin, it runs. Too thick, it clogs the airbrush. So you need to do some tests to find the right consistency. And most importantly, clean the device thoroughly after each session, otherwise you risk damaging it quickly.
Advanced techniques for more realism
Once you become comfortable with painting, you can have fun with weathering effects that give your aircraft a real visual history.
-
Dry brushing: dip a brush in light paint, wipe it almost completely dry, then lightly rub the edges of the aircraft. This creates highlights, as if the paint were slightly worn.
-
Wash: this is a dark wash (often black or very diluted brown) applied in recessed areas to bring out panel lines, rivets, etc. Wipe off the excess, and the relief magically appears.
-
Weathering: this encompasses all techniques that simulate the effects of time: exhaust stains, oil spots, dirt on the wings... Used in moderation, it gives a very convincing effect.
And finally, don't forget the decals (insignia, numbers, logos...) and a coat of varnish (matte or satin depending on the style) to protect everything and unify the appearance.
Choosing the right paints and finishes
There are two main families of model paints: acrylics and enamels.
-
Acrylics (water-based) are perfect for beginners: they dry quickly, have little odor, and are easy to clean. Brands like Tamiya, Vallejo, or Revell Aqua are of very good quality.
-
Enamels (solvent-based) offer a smoother, more resistant finish, but they require cleaning with white spirit and good ventilation.
Also, consider investing in a good varnish for the finish. Matte is the most realistic for a military aircraft, gloss is often used before decals, and satin offers a good compromise between the two.
Cleaning and safety
Finally, a quick word on maintenance and safety.
-
Always clean your brushes with water (for acrylics) or the appropriate solvent (for enamels) immediately after use.
-
If you use an airbrush, disassemble it regularly to prevent blockages.
-
Ventilate your room well, especially with spray products or solvent-based products.
-
And if you often tinker, consider wearing a light filtering mask, especially when using an airbrush.
Good maintenance is key to keeping your equipment for a long time... and avoiding trouble.
In summary
Painting an airplane model is not just for pros. With the right tools, some basic techniques, and a bit of method, you can give your models a real character, almost a soul. It's this step that makes the difference between a toy and a realistic replica.
So don't hesitate to experiment, try out effects, and sometimes fail: that's also part of the pleasure of modeling. And with time, you'll see: you'll develop your style, your precision, your eye... and you'll enjoy every model even more.
FAQ: we answer all your questions
How to paint an airplane model?
Start by applying a primer, then use thin coats with a brush or airbrush. Finish with weathering effects for more realism.
What paint to use for an airplane model?
Acrylic paints are ideal for beginners because they dry quickly and are easy to clean. Enamels offer a smoother finish but require more precautions.
Do I need an airbrush to paint a model?
It's not essential, but it allows for very fine gradients and a more homogeneous finish, especially for large surfaces or complex camouflage patterns.
How to give a model a weathered effect?
Use techniques like dry brushing, washes, or weathering to simulate wear, dirt, and operational traces on the aircraft.